
If you’ve ever peeked under your hoop mid-stitch to find what looks like a tiny bird’s nest of thread instead of your beautifully designed monogram, welcome to the club!!
Thread bunching — sometimes called “birdnesting” by embroiderers who clearly have a sense of humor about their suffering — is one of the most common and most maddening problems in machine embroidery.
The good news? It’s almost always fixable, and you don’t need to be a certified machine technician to sort it out. You just need a little patience, a seam ripper within arm’s reach, and this guide.
What Thread Bunching Actually Is (and Why It Happens)
Thread bunching typically shows up as a tangled mass of thread on the underside of your fabric, though sometimes it sneaks up on the top too. It happens when the tension between your top thread and bobbin thread gets out of balance, when thread isn’t feeding smoothly through the machine’s path, or when something mechanical is quietly sabotaging your project without so much as a warning light. Basically, your machine is trying to tell you something is off, and instead of using words, it’s speaking in knots.
The frustrating part is that bunching can be caused by a dozen different culprits, and they all produce roughly the same tangled mess. So rather than guessing, it helps to work through the usual suspects methodically, starting with the easiest fixes first.
Step 1: Start With the Bobbin (Because It’s Almost Always the Bobbin)
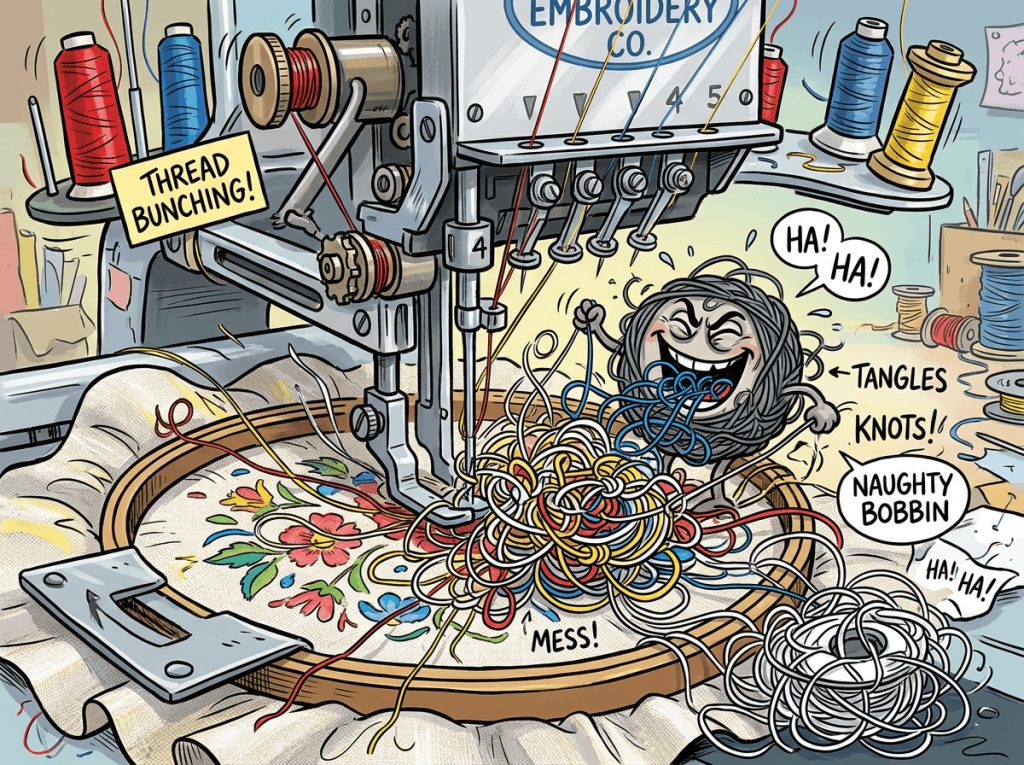
If machine embroidery had a most-wanted list, the bobbin would be public enemy number one.
Before you do anything else, check these things with regard to your bobbin:
- Is it inserted correctly? It sounds almost insultingly basic, but a bobbin popped in backwards or threaded through the wrong tension slot will absolutely cause bunching. Pull it out, rethread it according to your manual, and make sure the thread pulls smoothly in the correct direction.
- Is it wound evenly? A lumpy, unevenly wound bobbin is basically a tangle waiting to happen. If your bobbin thread looks like it was wound during an earthquake, rewind it. Many embroiderers find that switching to pre-wound bobbins designed specifically for embroidery machines eliminates this problem almost entirely, since they’re wound under consistent, factory-controlled tension.
- Is the bobbin case clean? Lint loves to hide in the bobbin case like it’s auditioning for a game of hide-and-seek, and a lint-clogged case throws off tension in ways that are hard to diagnose from the outside. A small brush (the kind that usually comes with your machine, buried at the bottom of a drawer you forgot existed) can clear this out in under a minute.
Step 2: Rethread the Top Thread — All the Way From the Start
It’s tempting to just re-tighten whatever thread is already sitting in the machine, but embroidery machines are surprisingly particular about the exact threading path. If the thread skipped a guide, missed a tension disc, or got looped around something it shouldn’t have, tension will be inconsistent even if everything looks fine at a glance.
Take the thread all the way out, and rethread from the spool through every single guide, exactly as your manual illustrates. Yes, every guide. Yes, even the one that seems purely decorative. Machines don’t do “close enough.”
While you’re at it, check your spool itself. Thread that’s unwinding unevenly off the spool, especially with larger cones, can create tension problems before the thread even reaches the machine. A thread stand or net can help keep things feeding smoothly, especially with slippery metallic or rayon threads that seem to have main character energy and refuse to cooperate with anyone.
Step 3: Check Your Tension Settings
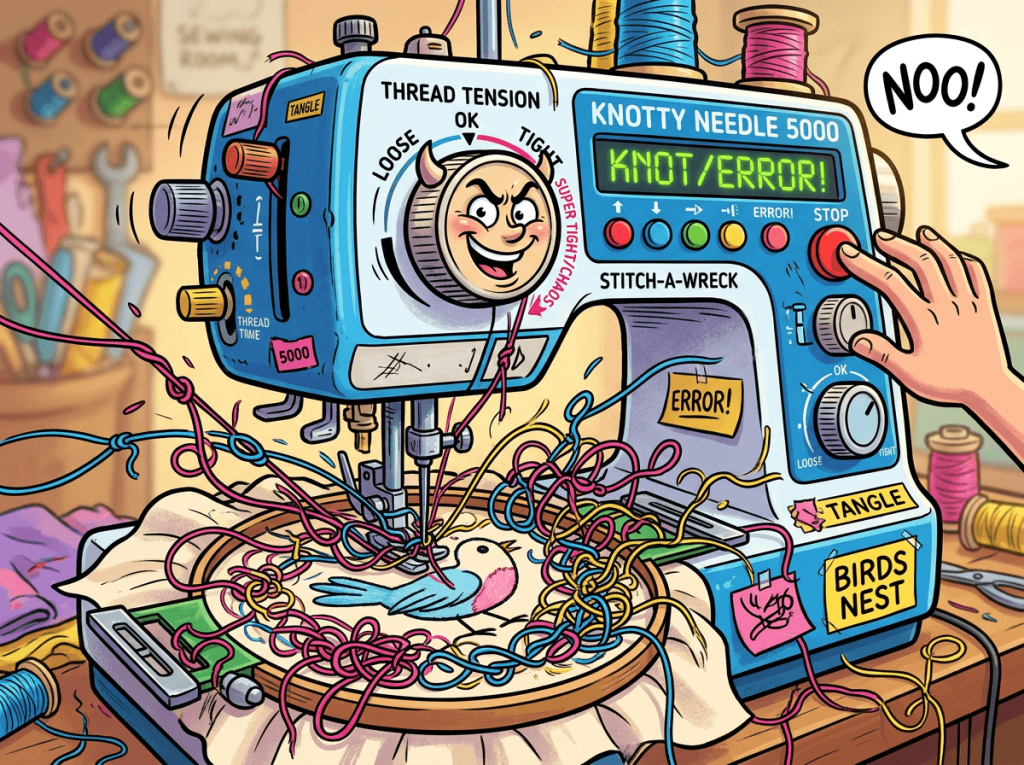
Once your threading is confirmed correct, look at your actual tension dial or digital setting. Every thread type behaves a little differently: cotton, polyester, rayon, and metallic threads all have their own personalities, and metallic thread in particular behaves like it’s never read the manual and doesn’t intend to start now.
If you’ve recently switched thread brands or weights, your old tension setting may simply no longer apply. Run a test stitch on scrap fabric and adjust incrementally, checking the underside of the stitching after each small adjustment. You’re looking for a balanced stitch where neither the top nor bobbin thread is visible pulling through to the other side.
Step 4: Inspect Your Needle
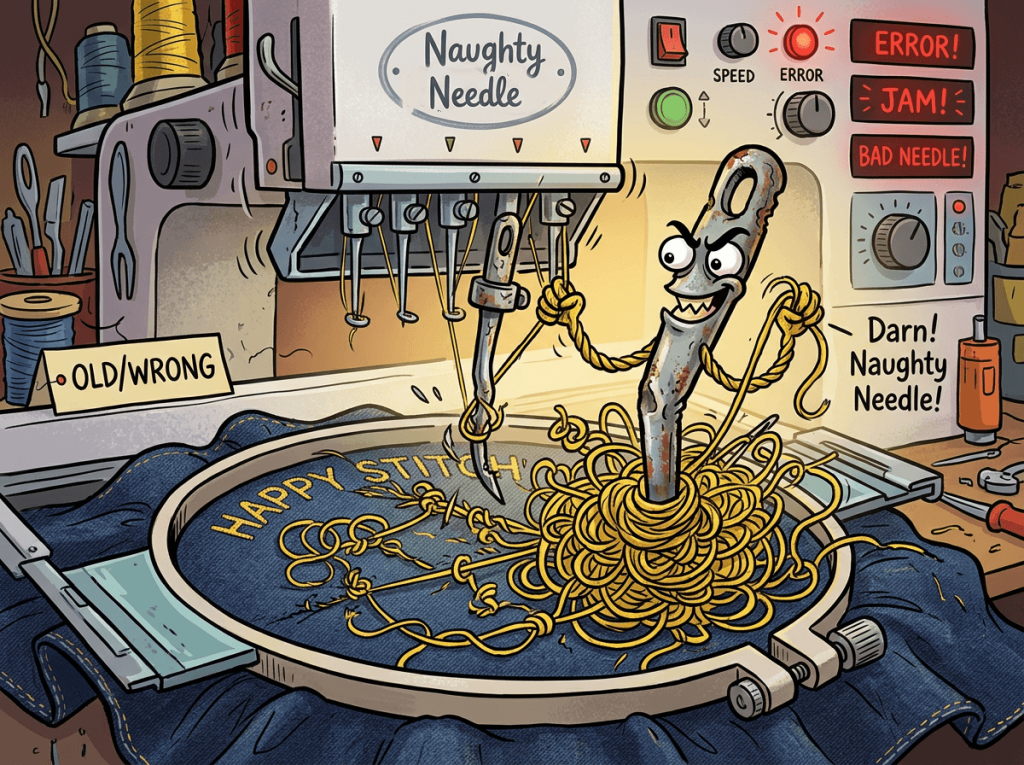
An old, bent, burred, or simply wrong needle is a sneaky cause of thread bunching that gets overlooked constantly. Needles dull faster than you’d expect, especially when stitching through stabilizer, dense fills, or scratchy metallic thread. A damaged needle can snag thread, cause skipped stitches, and throw tension out of balance in ways that mimic every other problem on this list.
As a general rule of thumb, many embroiderers replace their needle after every project, or at minimum every 8 hours of stitching time. Also double-check that you’re using the correct needle type and size for your fabric and thread — an embroidery needle isn’t just a marketing term, it genuinely has a different eye shape designed to reduce thread friction and shredding.
Step 5: Look at Your Stabilizer and Hooping
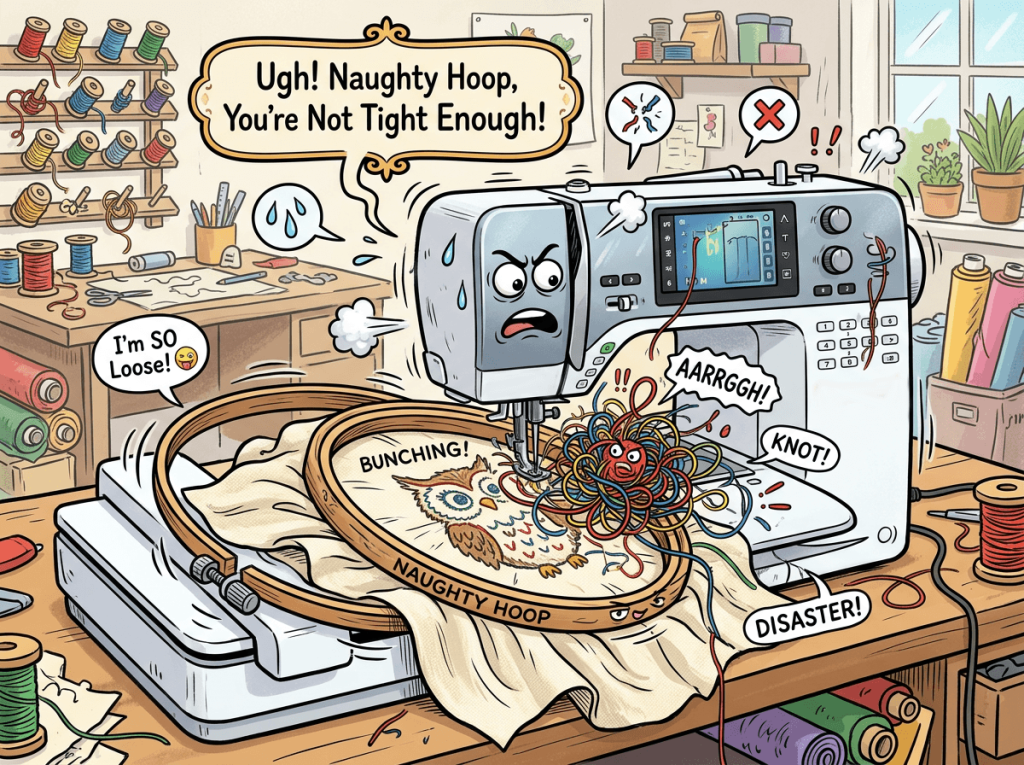
This one surprises people, but insufficient or incorrect stabilizer can absolutely cause thread bunching, especially on stretchy or lightweight fabrics. If the fabric shifts or puckers during stitching, thread tension gets thrown off as a side effect, and bunching follows right behind.
Make sure your fabric is hooped drum-tight (think trampoline, not hammock) and that you’re using a stabilizer appropriate for your fabric weight and design density. A too-thin stabilizer under a dense design is a bit like sending someone to run a marathon in flip-flops — technically possible, but everything’s going to fall apart partway through.
Step 6: Clean and Inspect Your Machine
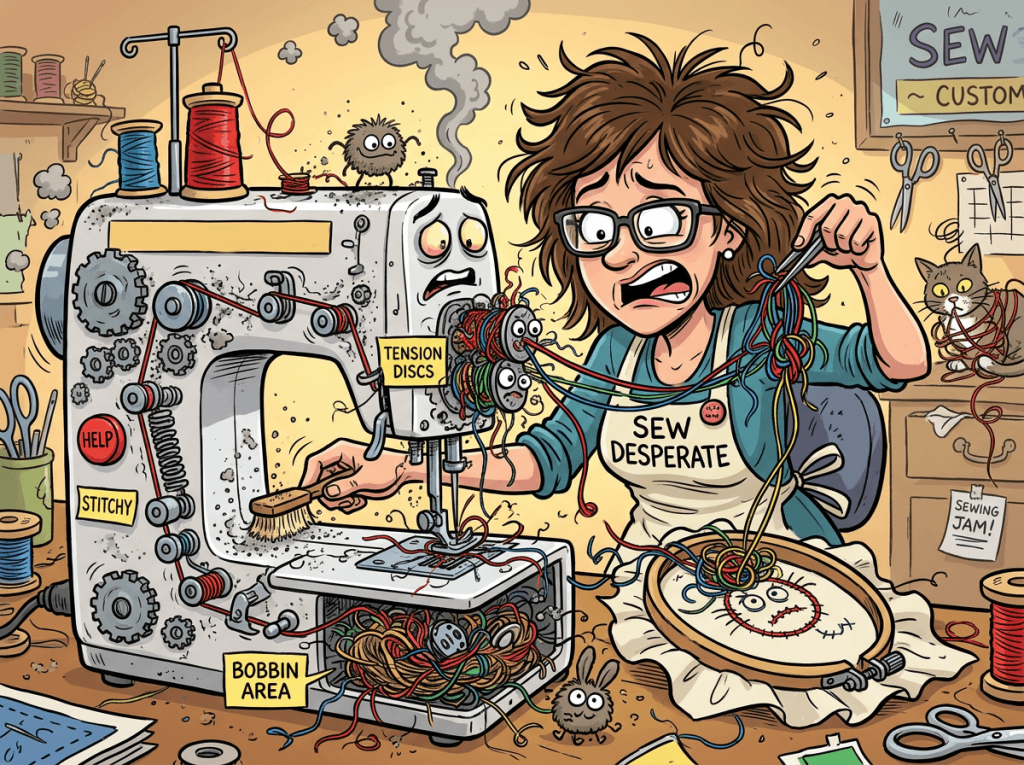
Embroidery machines accumulate lint and thread fragments in places you’d never think to look, and buildup around the tension discs, thread path, or bobbin area can cause bunching that seems to appear out of nowhere. A basic cleaning routine — brushing out lint, checking for stray thread bits wound around the take-up lever, and occasionally oiling if your manual recommends it — can prevent a surprising number of “mystery” bunching incidents.
While you’re in there, check the take-up lever and thread guides for any burrs or rough spots. A tiny nick in the metal can shred thread or create uneven tension, and you likely won’t spot it without running your finger gently along the surface (carefully, unless you enjoy impromptu blood donations to your embroidery project).
Step 7: Slow Down Your Stitching Speed
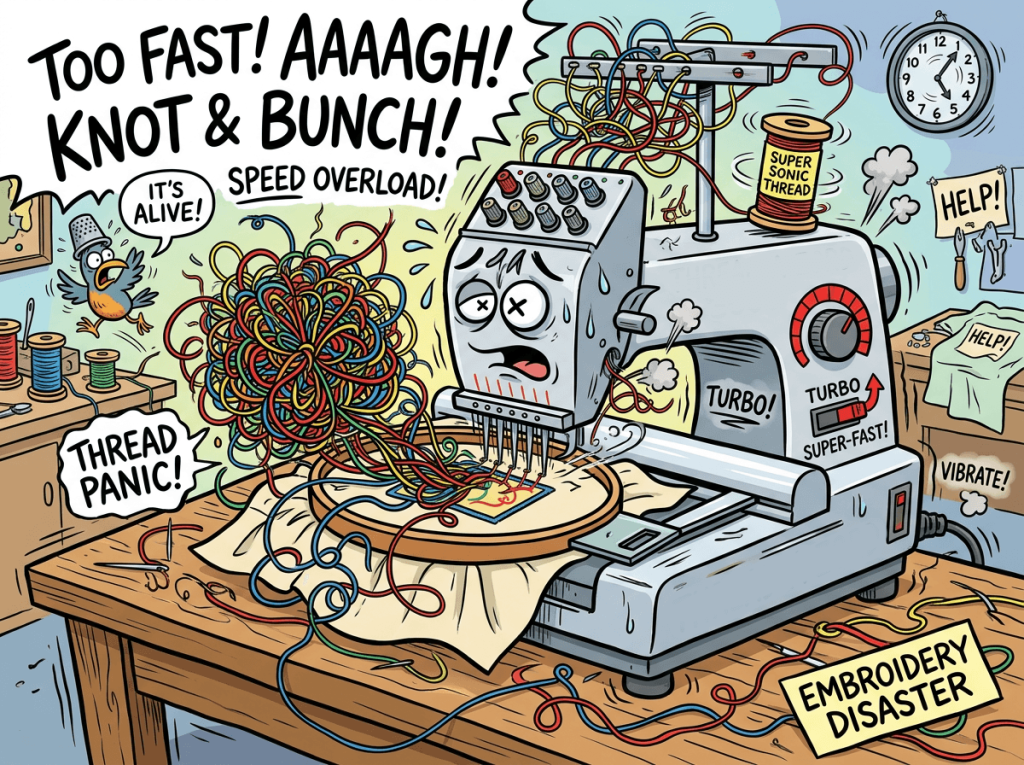
If you’ve checked everything above and bunching is still happening intermittently, especially on dense fills or intricate designs, try reducing your machine’s stitching speed. Faster speeds put more strain on thread and tension systems, and some designs — particularly ones with lots of direction changes or very short stitches — simply need a slower, steadier pace to stitch out cleanly. Your machine isn’t racing anyone. Let it take its time.
When All Else Fails
If you’ve worked through every step above and thread is still bunching, it may be worth consulting your machine’s manual for model-specific troubleshooting, or reaching out to a local dealer or repair technician.
Occasionally the culprit is something mechanical, like a worn tension spring or a bobbin case that’s simply reached the end of its useful life, and no amount of rethreading will fix a genuinely worn part.
The Bottom Line
Thread bunching is annoying, but it’s rarely a sign that your machine (or you) has done something unforgivable. Nine times out of ten, the fix is something small: a bobbin reseated correctly, a fresh needle, a rethreaded top thread, or a stabilizer swap.
Work through the possibilities methodically rather than randomly changing settings, and keep notes on what fixed the problem so future-you doesn’t have to relearn this lesson at 11pm the night before a craft fair.
And if nothing else, take comfort in the fact that even experienced embroiderers deal with the occasional thread nest. It’s not a rite of passage anyone asked for, but it is, unfortunately, part of the hobby.